Access Point Name or APN settings are used by mobile devices to connect to the internet and other services provided by your mobile carrier, Change APN Settings becomes important when you are using an Unlocked device. Sometimes, you may need to modify these settings to ensure optimum performance or when switching carriers. This guide will take you through the steps to change APN settings across various devices.
What is Access Point Name (APN)?
Access Point Name, or APN, is a setting on your mobile device that identifies an external network your phone can access for data (e.g. internet access). The APN defines the network path for all cellular data connectivity by using information such as an IP address, a username, and a password. When you sign up with a mobile carrier, they will typically configure this setting for you so that your device can communicate with their network.
Access Point Network Types (APN Types)
APN Types categorize the kinds of services that a specific APN can facilitate. These types are typically a comma-separated list that can include values like:
- default: This carries regular mobile data and is used for general internet access.
- mms: This stands for Multimedia Messaging Service, and it’s used for sending multimedia messages.
- supl: This stands for Secure User Plane Location and is used for GPS and location services.
- dun: Stands for Dial Up Networking and might be used for tethering.
- fota: This stands for Firmware Over The Air and is used for over-the-air firmware upgrades.
These types help in routing the network traffic from the mobile device to the appropriate services.
Multimedia Messaging Service (MMS)
Multimedia Messaging Service, or MMS, is a standard way to send messages that include multimedia content such as images, audio files, video clips, and contact cards, amongst others. It’s an extension of SMS (Short Message Service), which allows only text characters. Unlike SMS, which uses your mobile signal to send text messages, MMS uses mobile data or Wi-Fi to send multimedia content.
Proxy Settings
In the context of mobile internet settings, a proxy acts as an intermediary between your mobile device and the internet. It’s essentially an IP address and port number that your phone can send requests to, rather than sending requests directly to the internet. The proxy server then forwards your request to the web. This can be used for various purposes such as content filtering, improving performance, or helping with anonymity. In mobile APN settings, if you’re required to set a proxy, it should be provided by your mobile carrier. Not all mobile networks use a proxy, and often this setting can be left blank.
How to Change APN Settings of any device:
Here is the complete list of devices that you can change the APN Settings On. If you have an iPhone or iOS device, you most probably have to do it according to the guide below. But for Android devices, the method could be a bit different from device to device because most Android Phone makers use heavy skins over stock Android OS.
But mostly the APN settings are found under the Network & Internet tab. However in new Samsung devices, you have to go to Connections> Mobile Networks > Access Point Names, you can add or modify the current APN Settings.
Android Devices
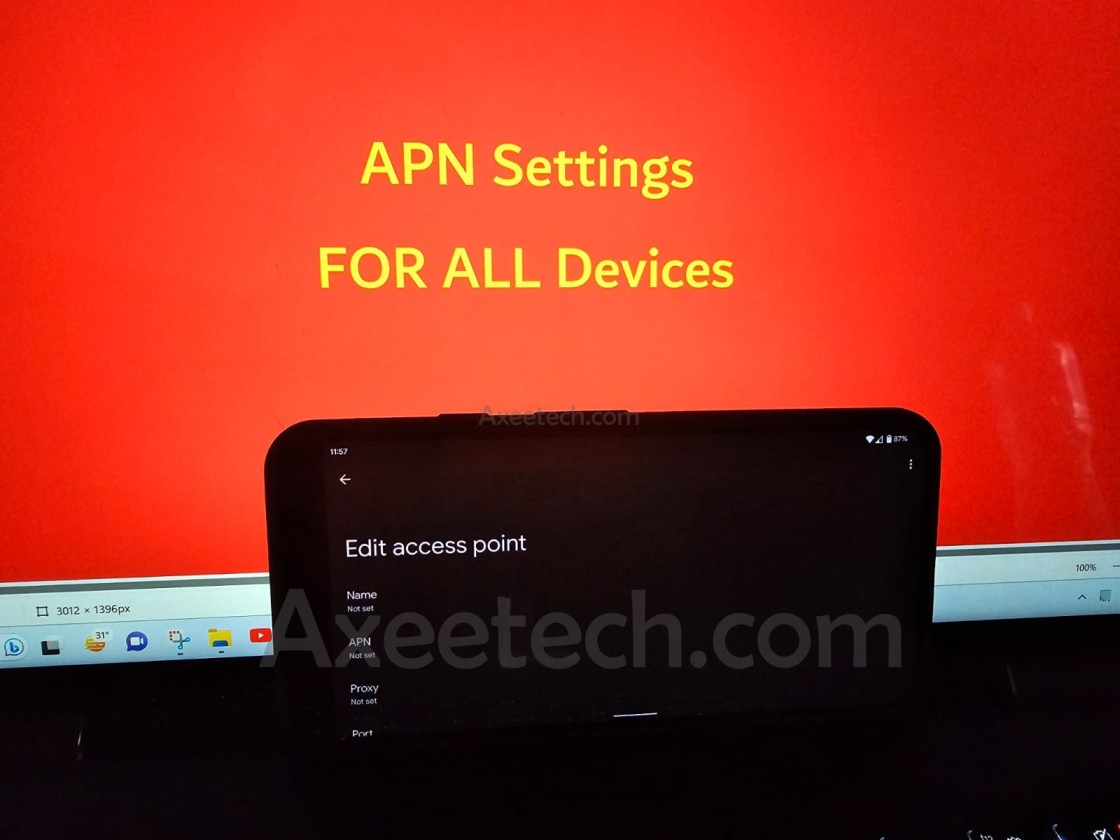
- Open Settings: Go to the app drawer or notification shade and open the ‘Settings’ app.
- Access Network Settings: Navigate to ‘Network & Internet’ > ‘Mobile network’ > ‘Advanced’ > ‘Access Point Names’.
- Add or Edit APN: You will see a list of existing APNs. To create a new one, tap the ‘+’ icon, or to modify an existing one, tap on it.
- Enter APN Details: Input the necessary APN settings provided by your carrier. Make sure to double-check the information for accuracy.
- Save and Select: Once done, save the settings by tapping the three dots in the upper-right corner and selecting ‘Save’. Then, select the new APN to use it.
iOS Devices (iPhone & iPad)
- Open Settings: Tap on the ‘Settings’ app from the home screen.
- Go to Cellular Data Options: Navigate to ‘Cellular’ > ‘Cellular Data Options’ > ‘Cellular Network’ or ‘Mobile Data’ > ‘Mobile Data Options’ > ‘Mobile Data Network’ depending on your iOS version.
- Enter APN Details: Under the ‘Cellular Data’ and ‘MMS’ sections, enter the APN settings provided by your carrier.
- Save the Settings: Once entered, go back to the previous screen, and the settings will be saved automatically.
Windows Devices:
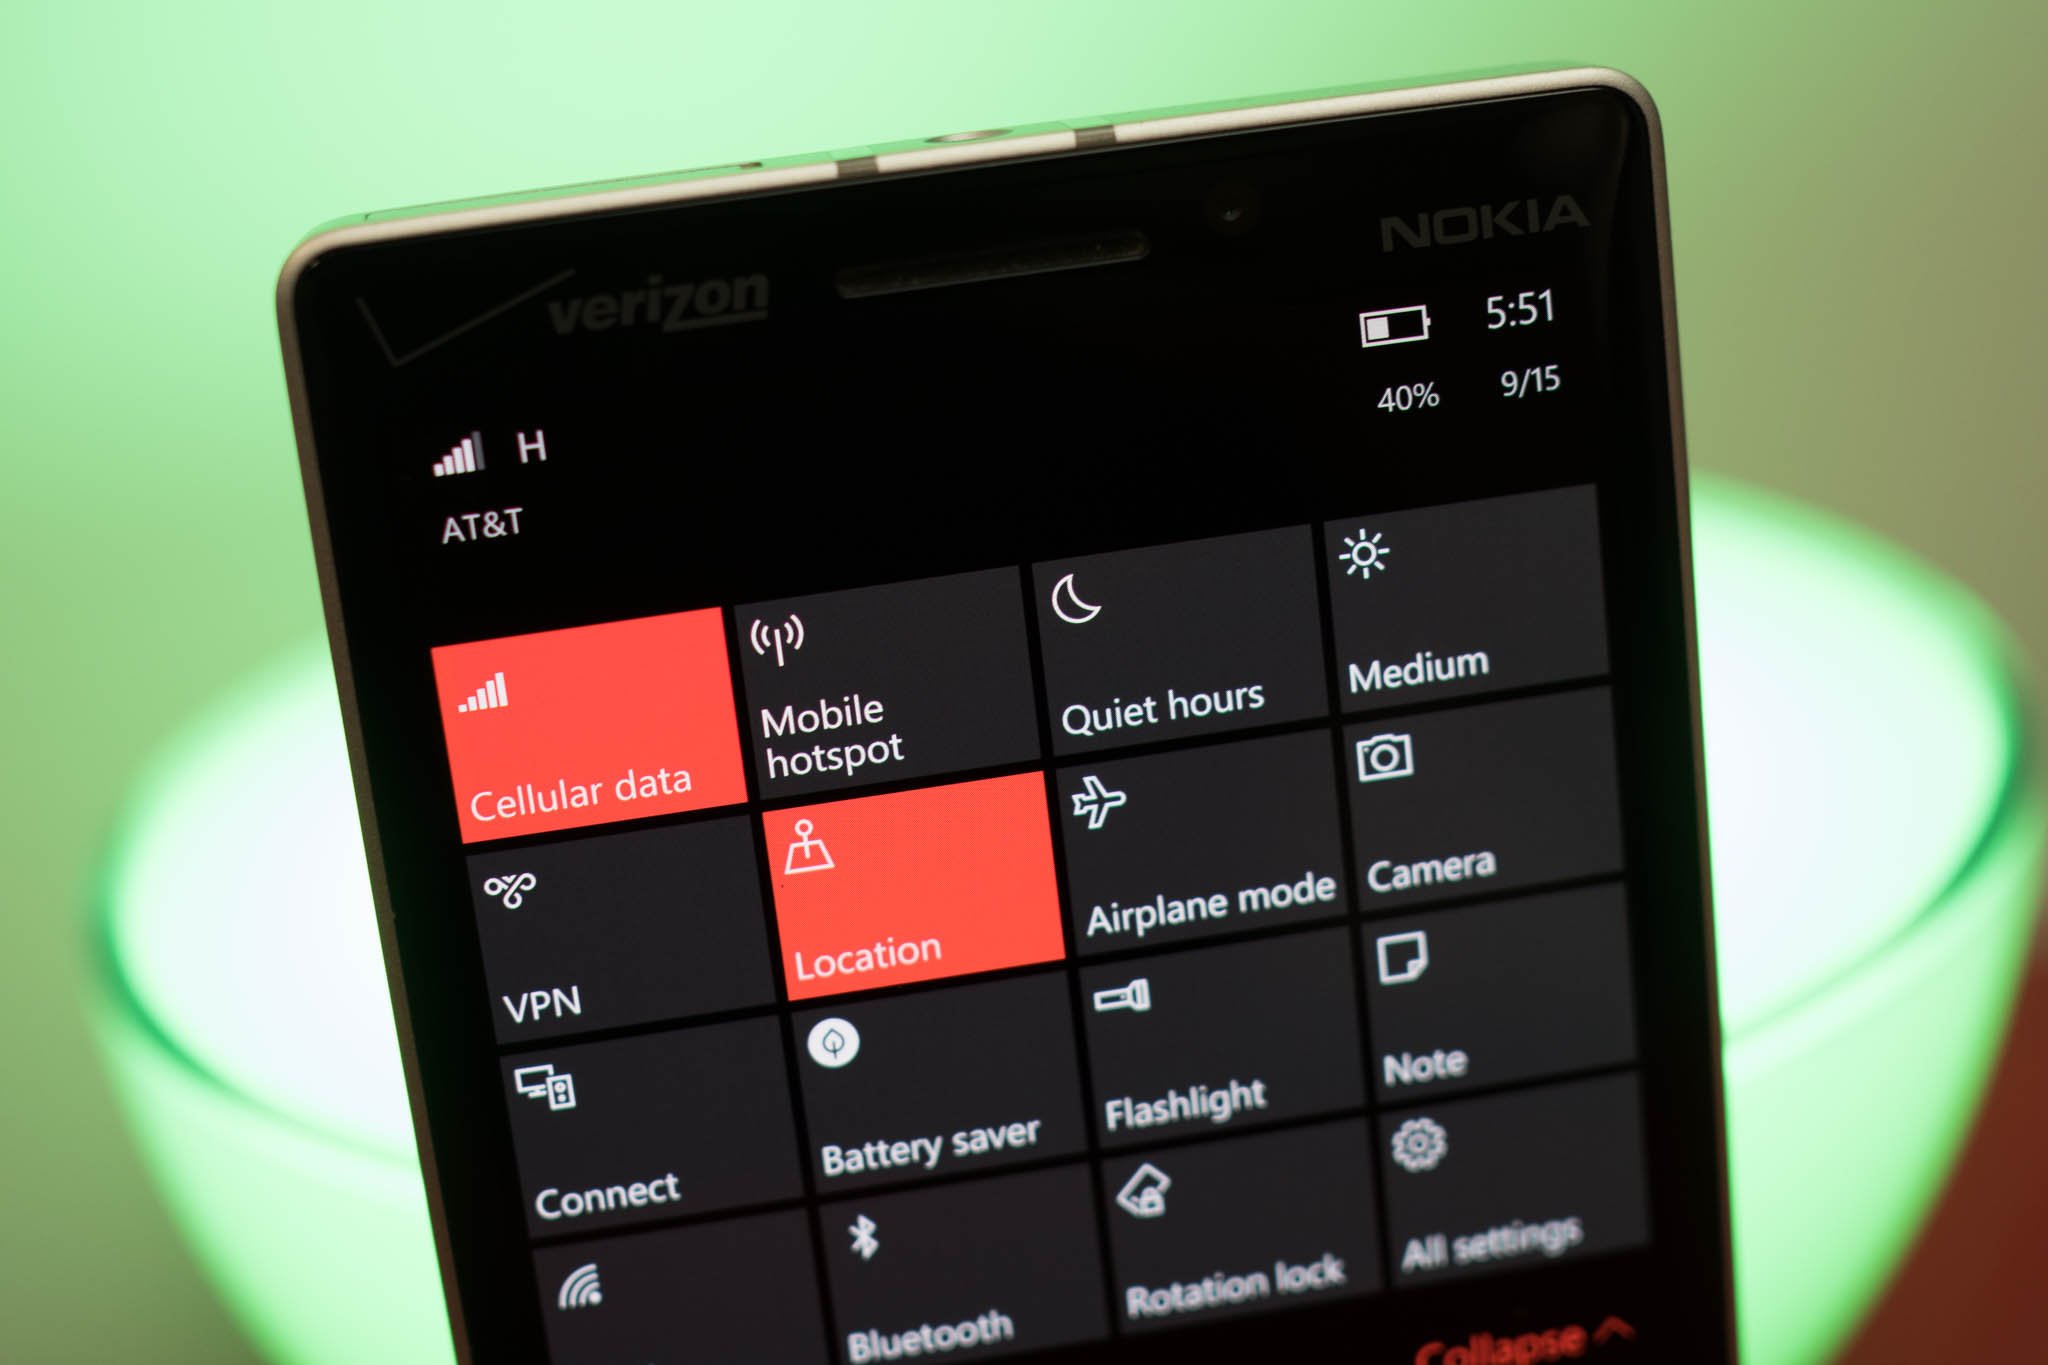
- Open Settings: Go to the ‘Start’ menu and click on the ‘Settings’ gear icon.
- Access Network & Internet: Navigate to ‘Network & Internet’ > ‘Cellular’ > ‘Advanced options’ > ‘Add an APN’.
- Enter APN Details: Input the necessary APN settings in the fields provided.
- Save the Settings: After entering the details, click ‘Save’ to save the new APN settings.
Feature Phones (Non-smartphones)
For feature phones, the settings may vary depending on the model and brand. Here is a general guide:
- Open Menu: Go to the main menu and navigate to the ‘Settings’ or ‘Options’ section.
- Access Network Settings: Look for ‘Network Settings’, ‘Mobile Networks’, or a similar option.
- Enter APN Details: Go to ‘Access Point Names’ or a similar option and enter the APN details provided by your carrier.
- Save and Select: Save the settings and make sure the new APN is selected.
Important Tips
- Always ensure that the APN settings you enter are accurate and provided by your carrier.
- If you’re unsure about the APN settings, contact your mobile carrier for the correct information.
- Sometimes, simply restarting your device can help apply the new APN settings effectively.
- It’s wise to note down the original APN settings before making any changes, in case you need to revert to them later.
Now you’re equipped with the knowledge to change APN settings on any device. Make sure to proceed with caution and double-check all the information you enter. Enjoy your optimized network connection.
Here are some top Cellular Network Providers’ APN Settings:
